Build Process
Click any image to view full size
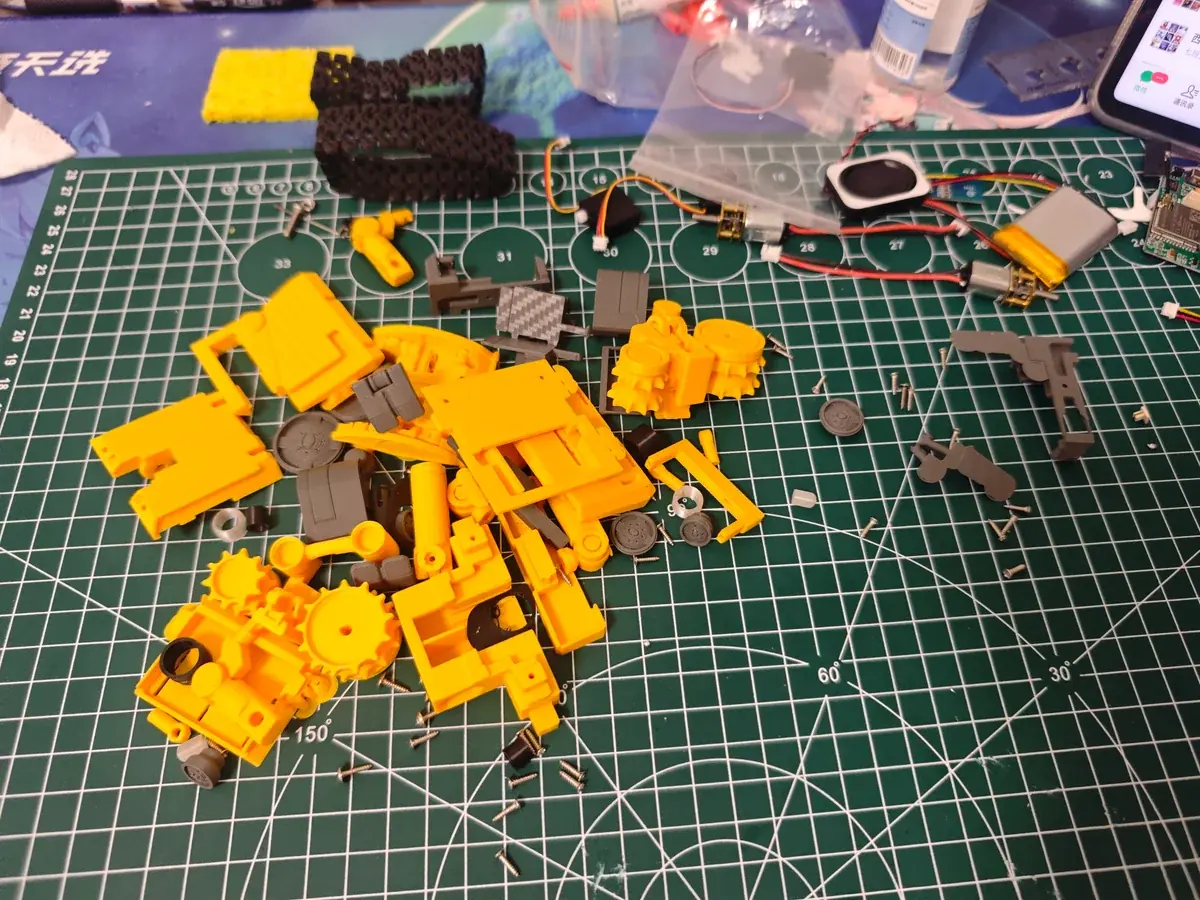
Shell parts
3D-printed shell, first step of material selection
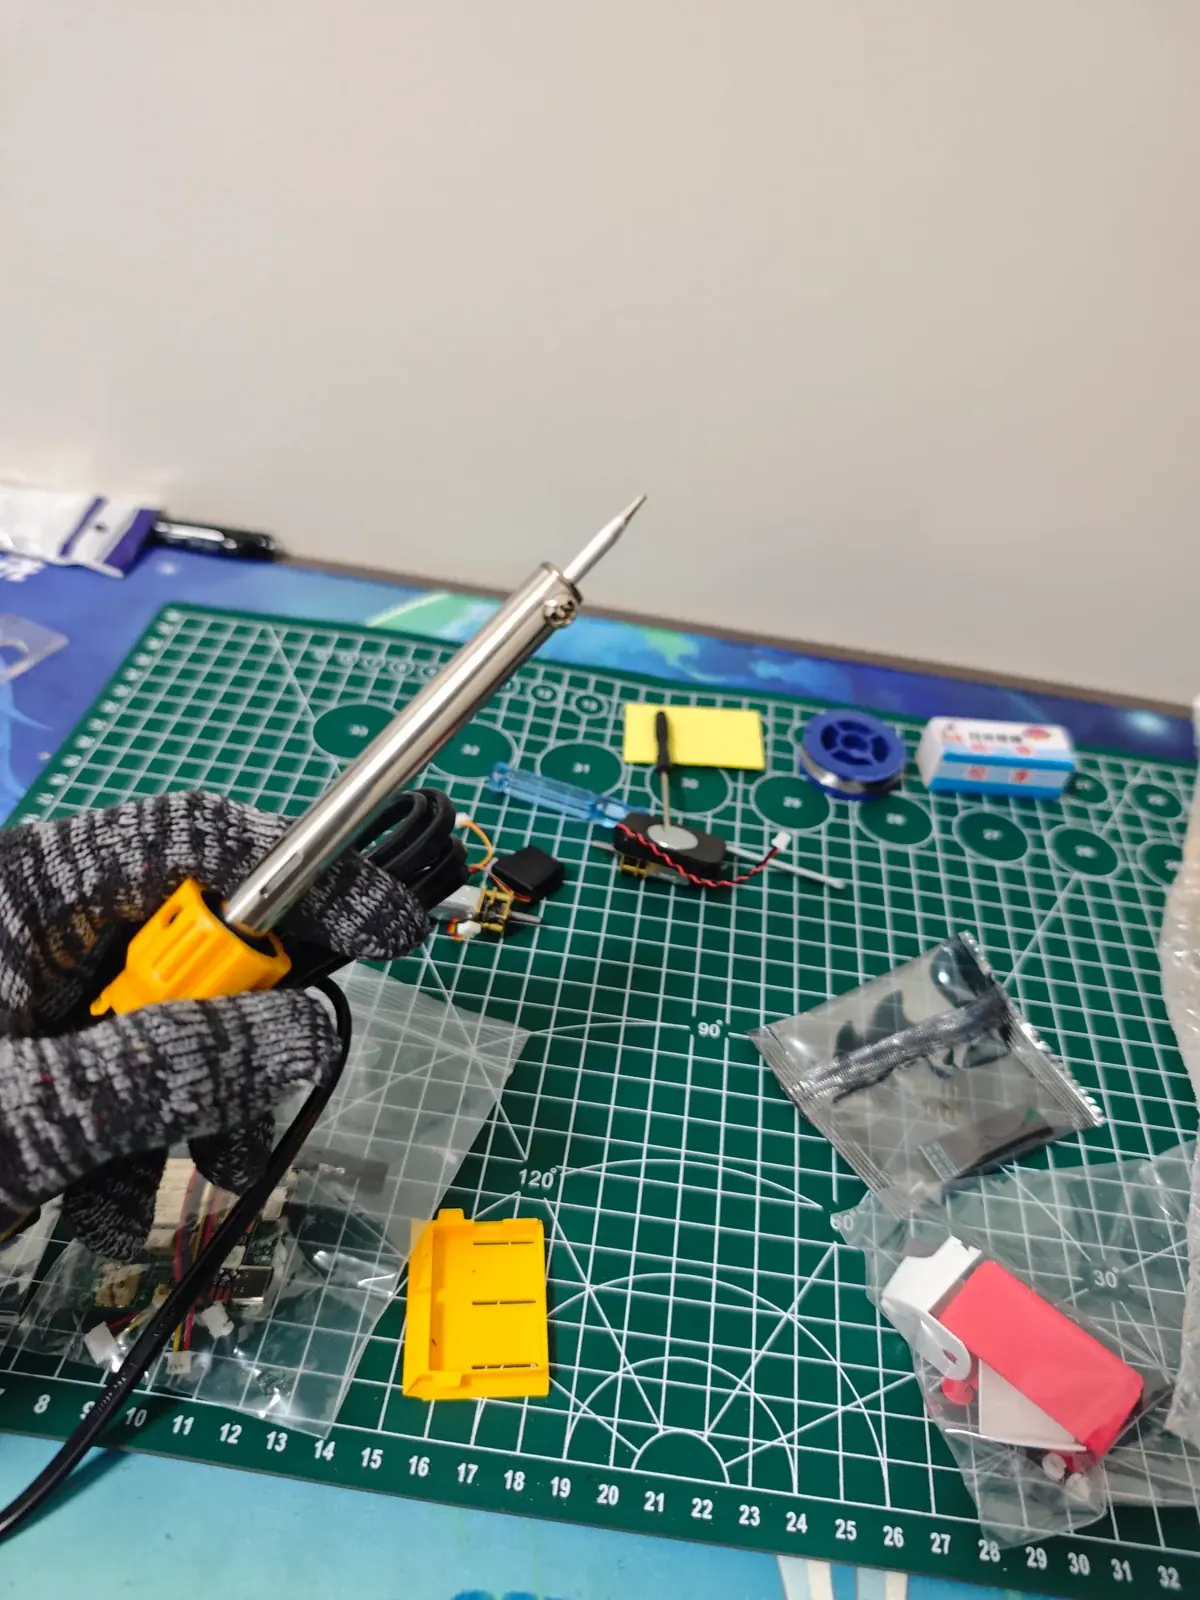
Materials
Picking and matching each component
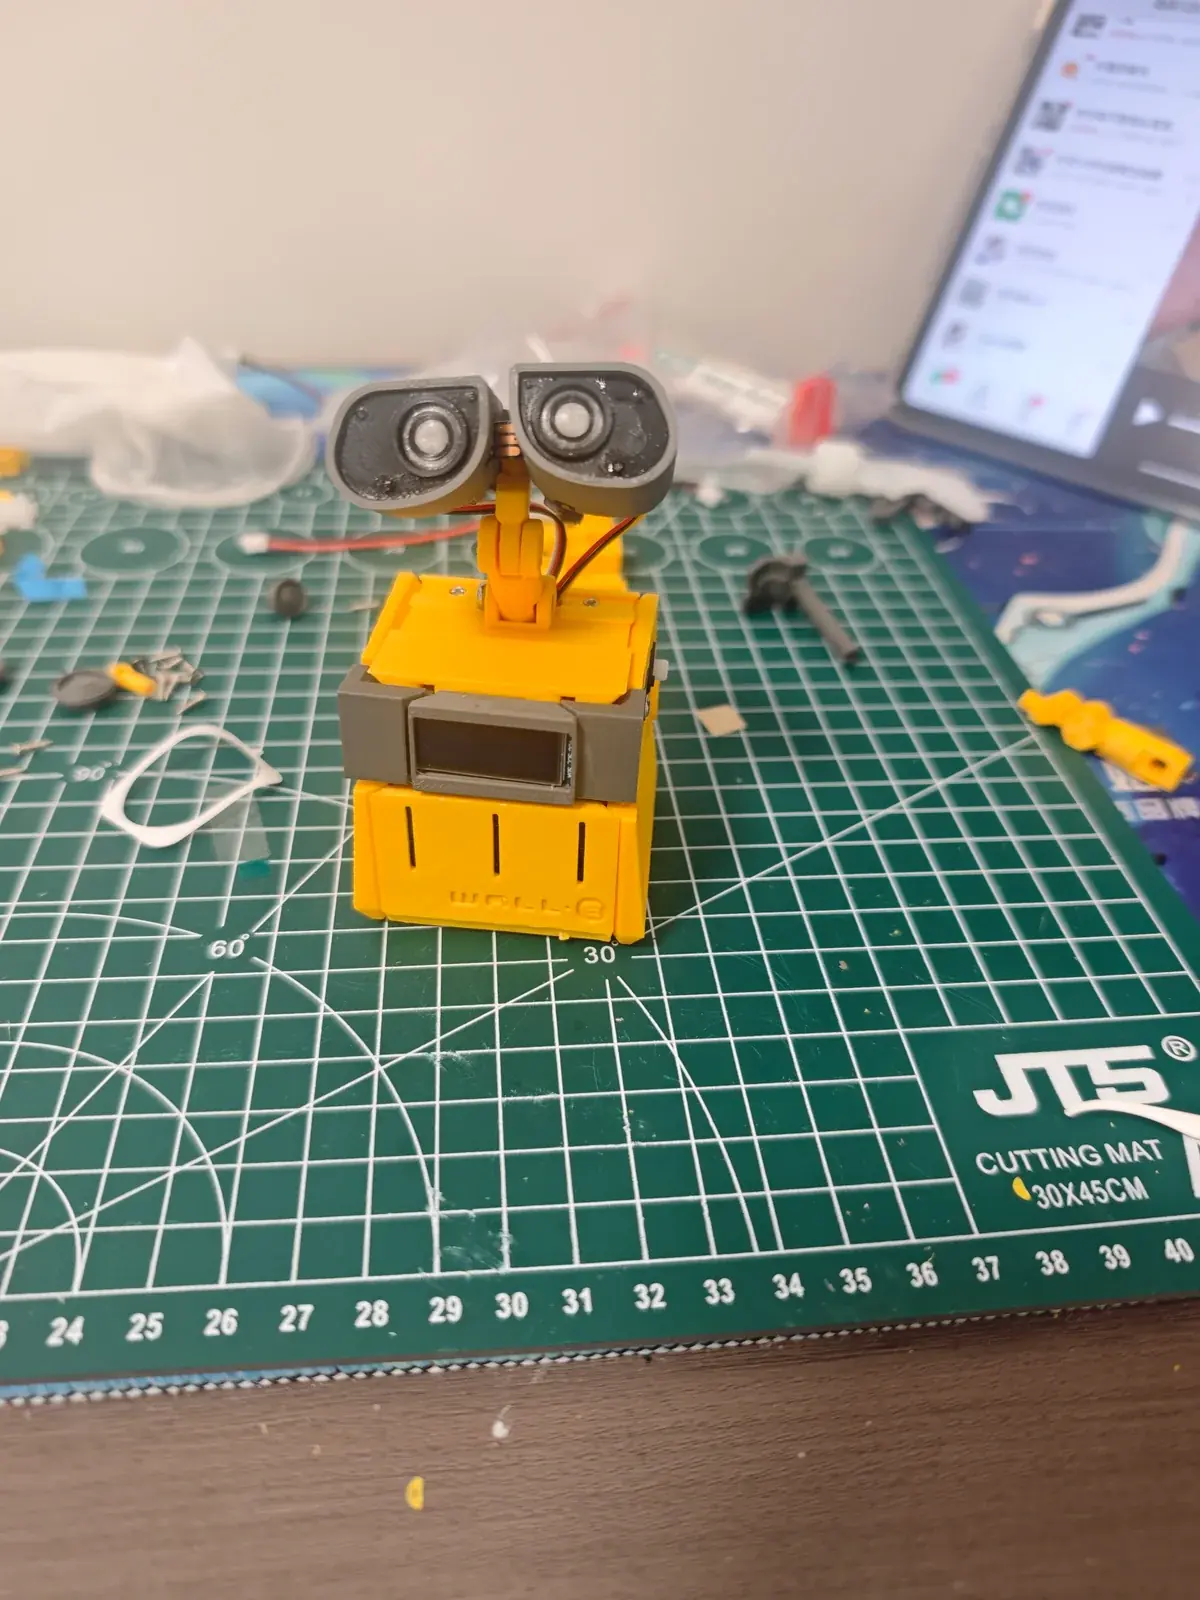
Components in place
Mainboard, screen and LED strip positioned
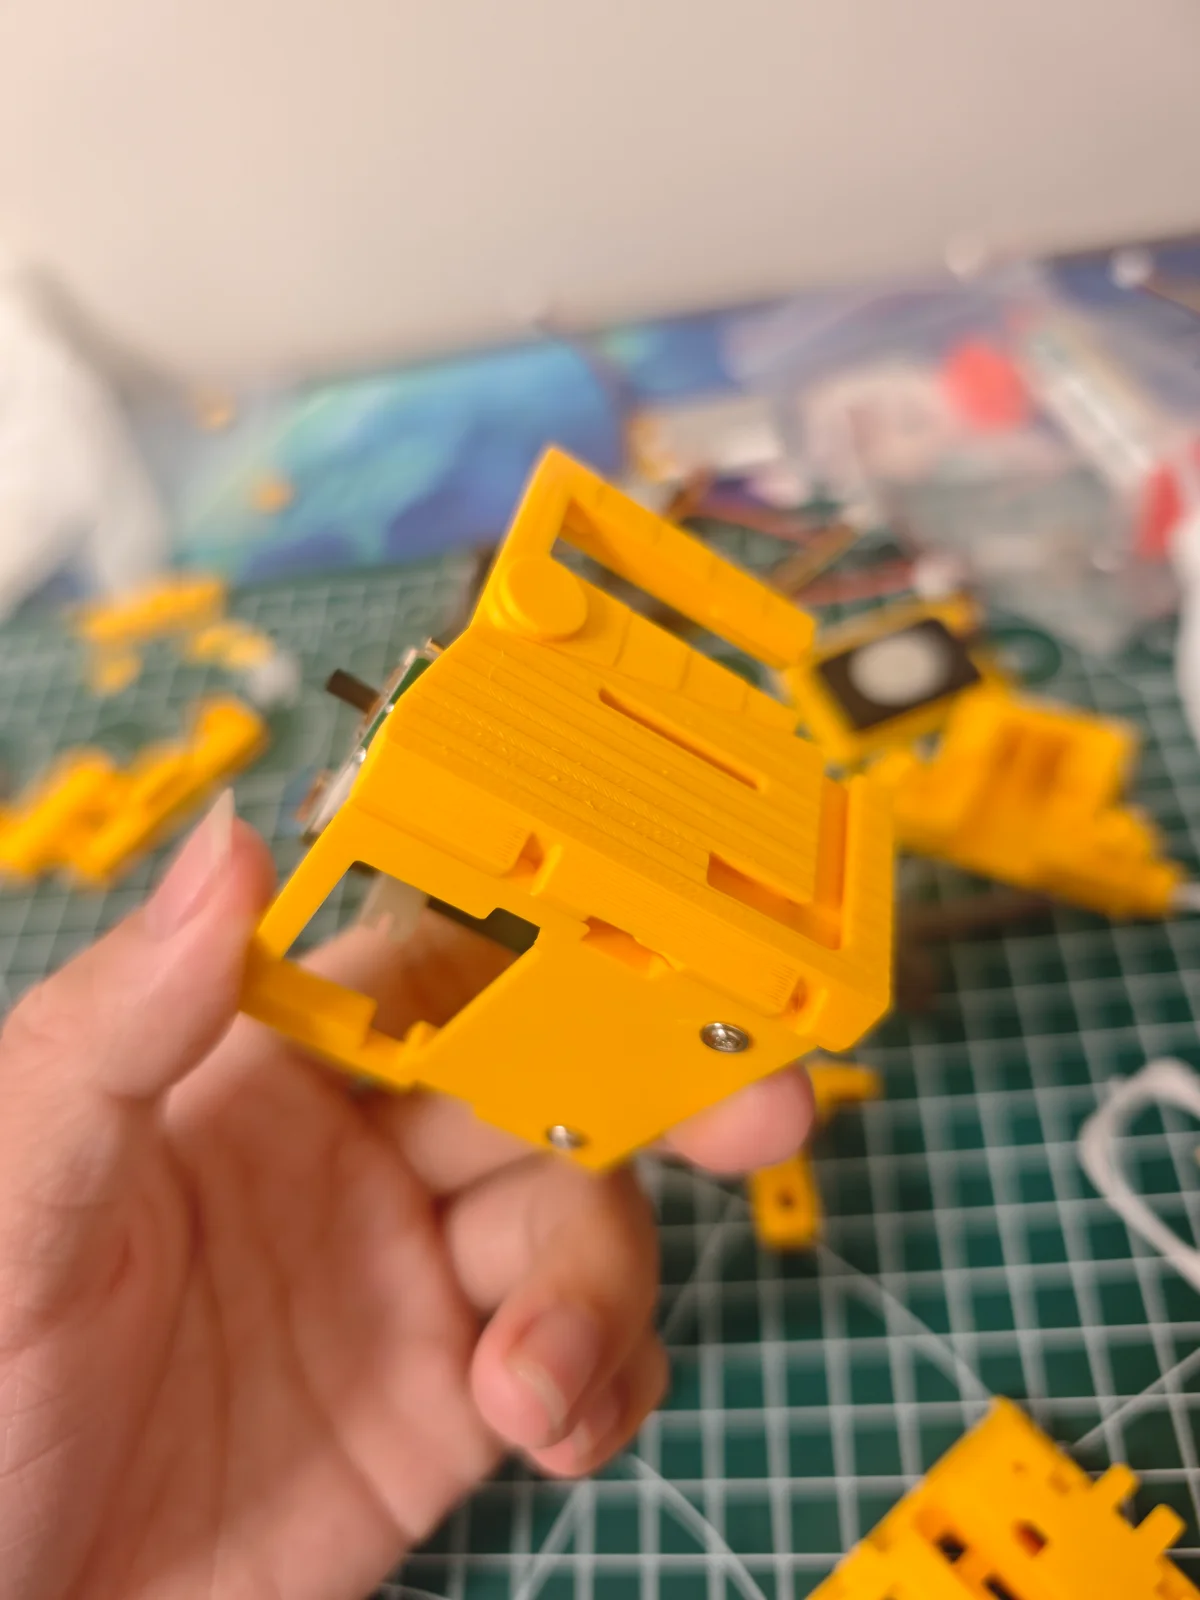
Frame
Body structure taking shape
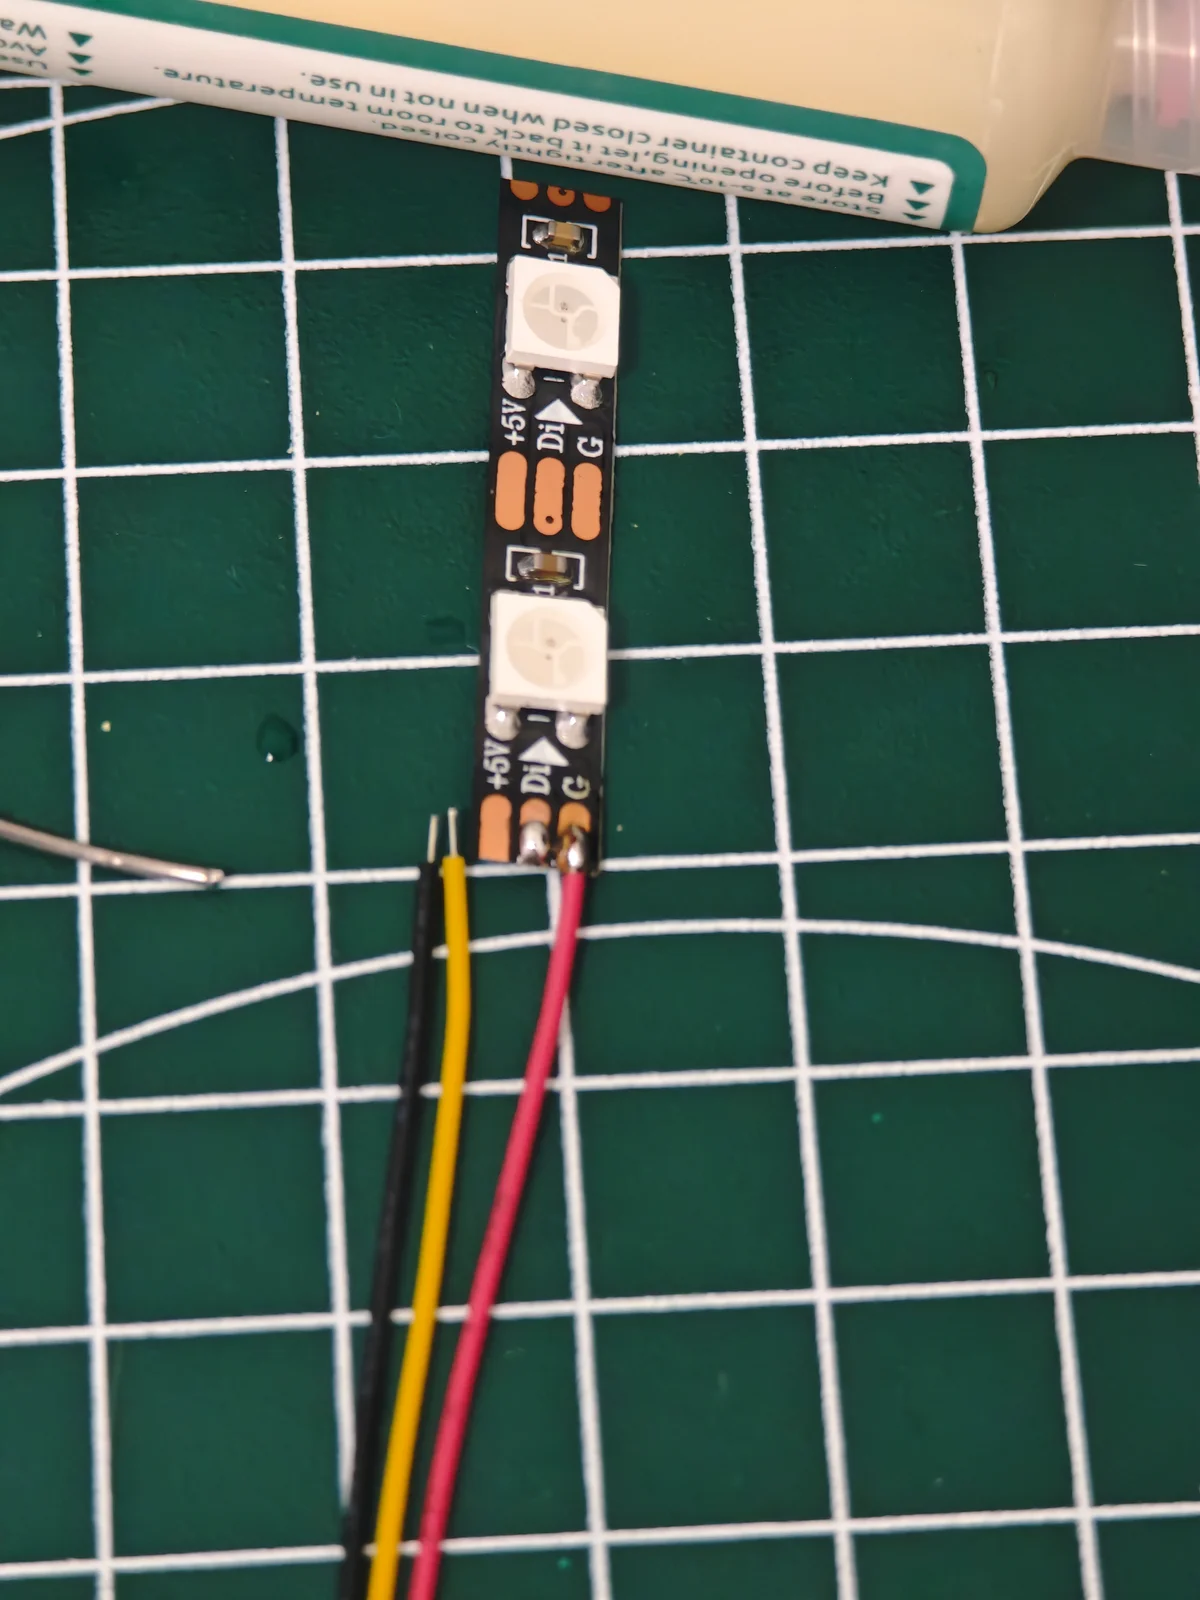
Soldering begins
The most patience-testing step
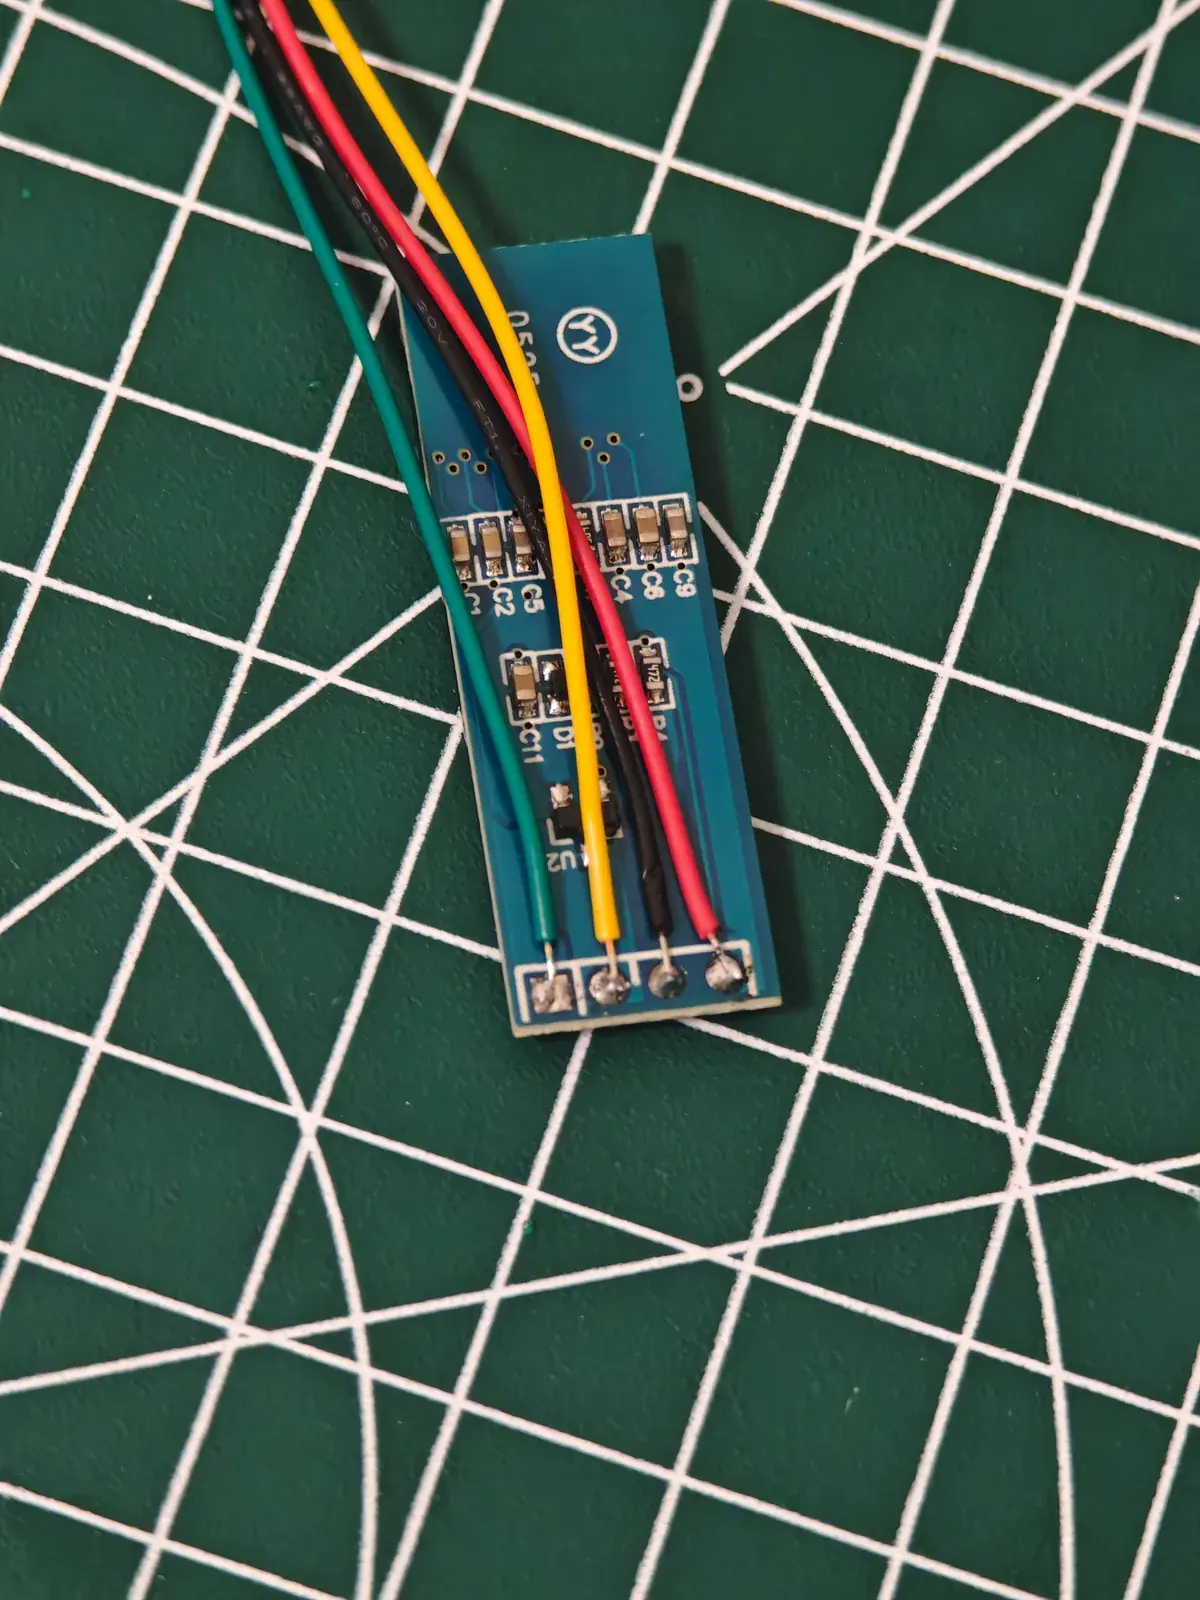
Screen wiring
Connecting the display circuit
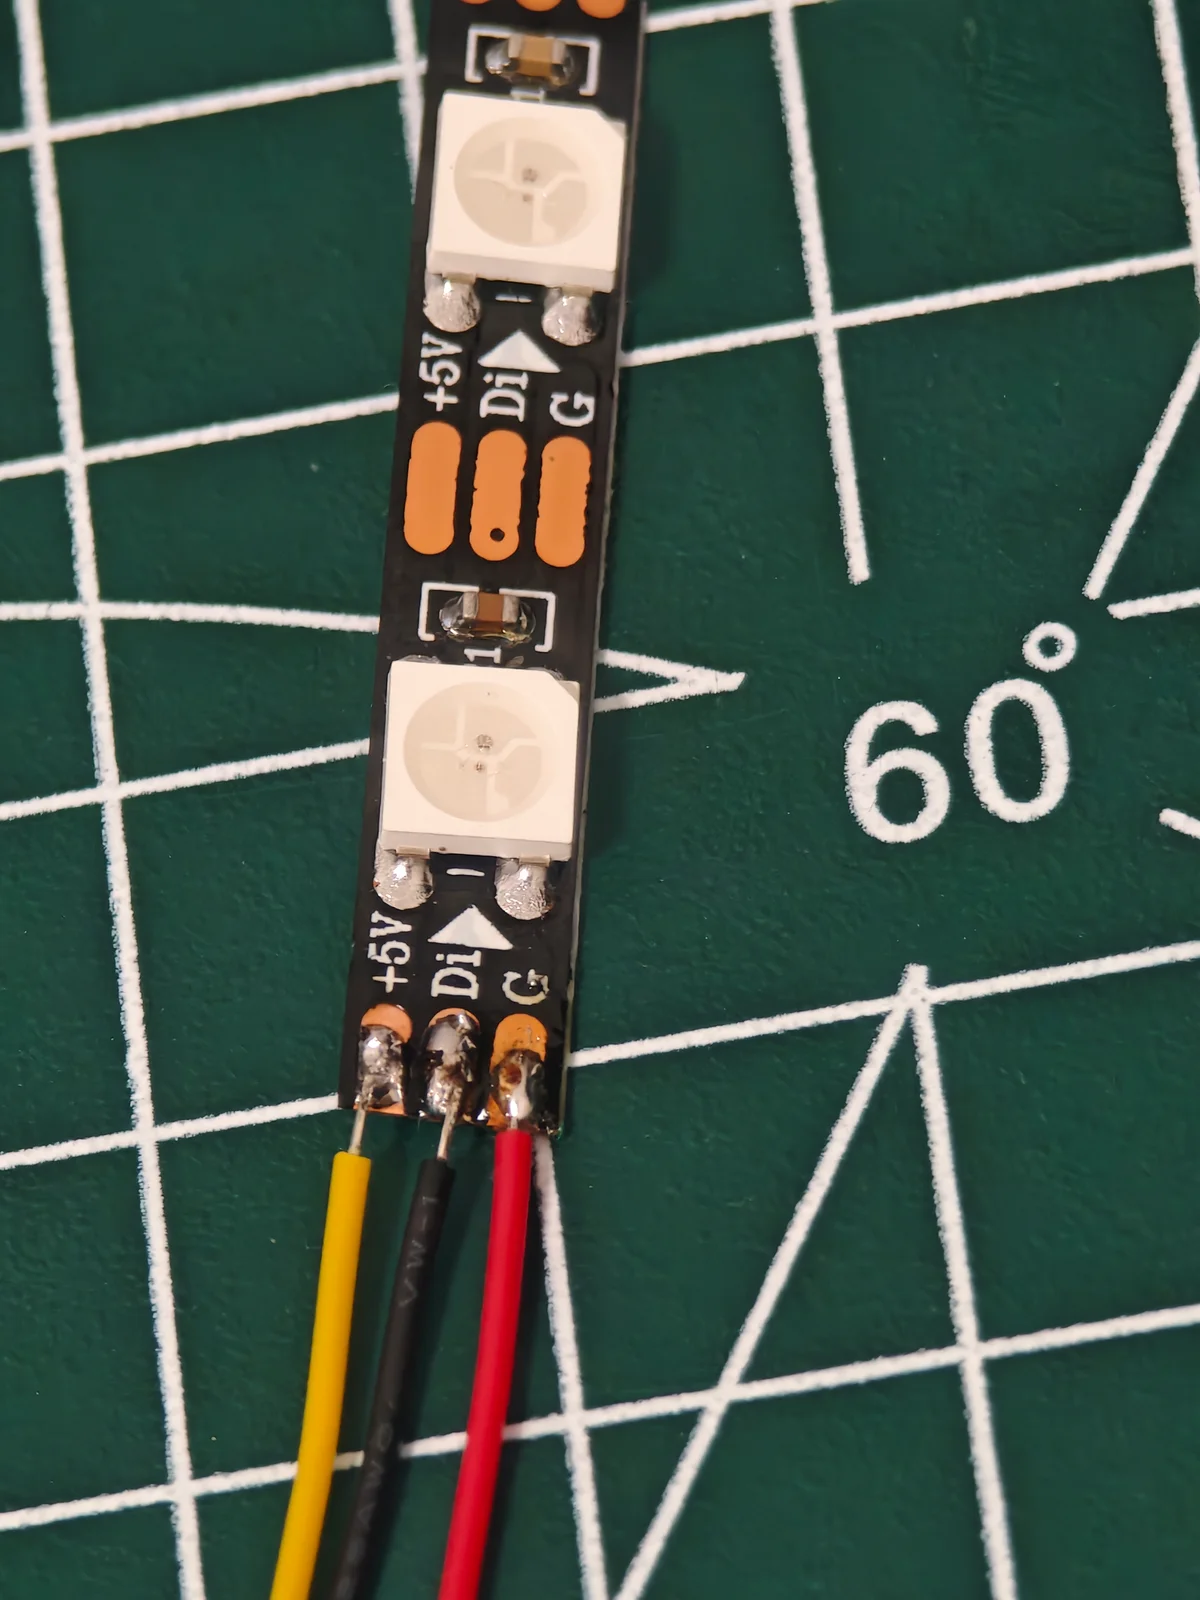
LED strip
Lighting system circuit
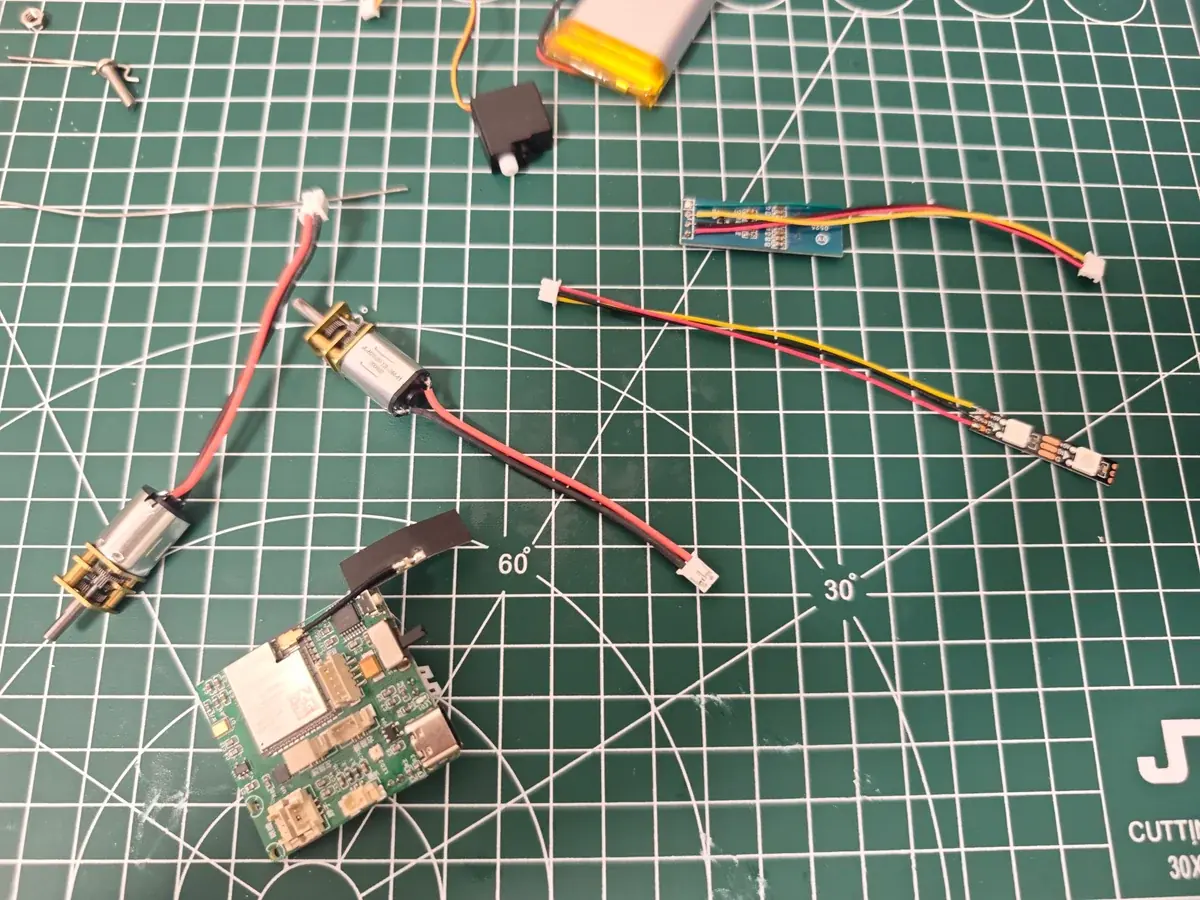
Soldering complete
All joints done
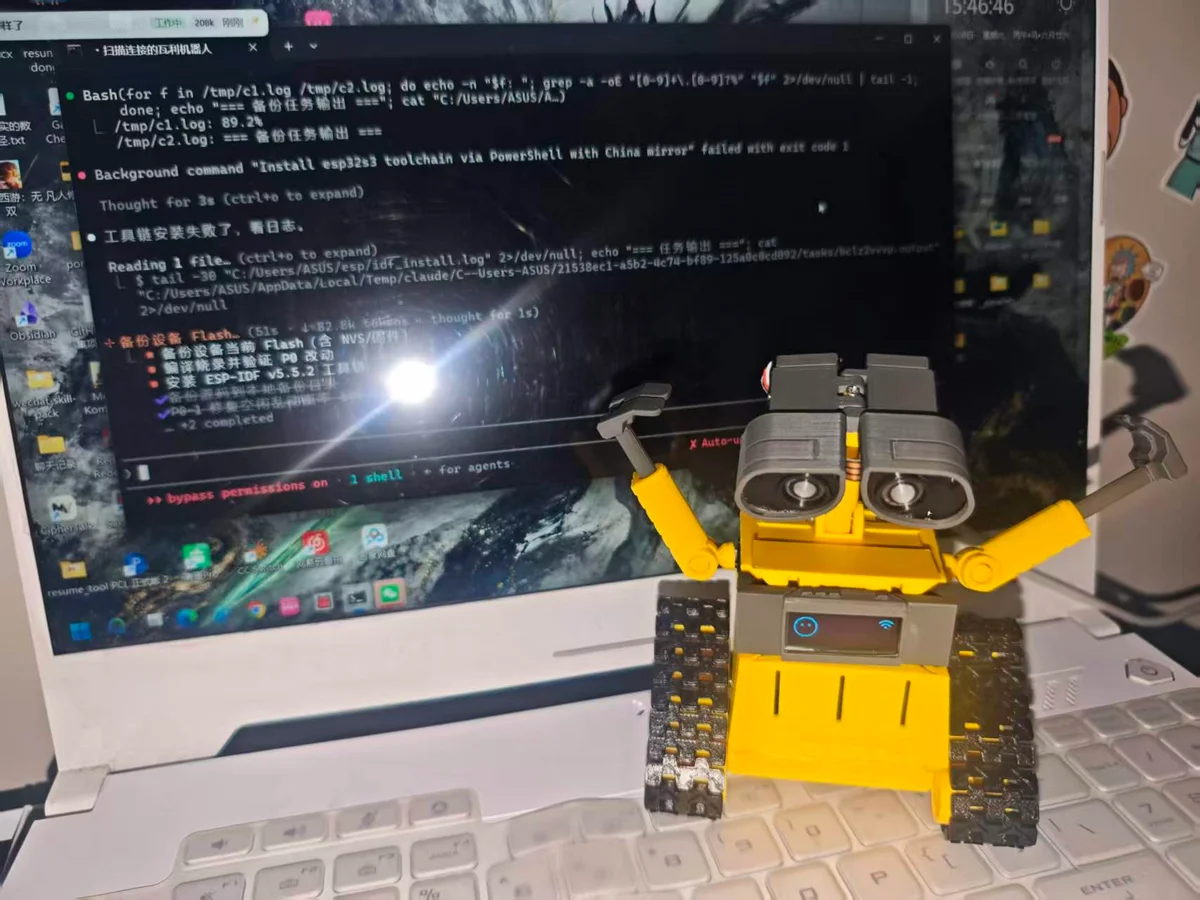
Flashing firmware
Burning ESP32-S3 AI firmware
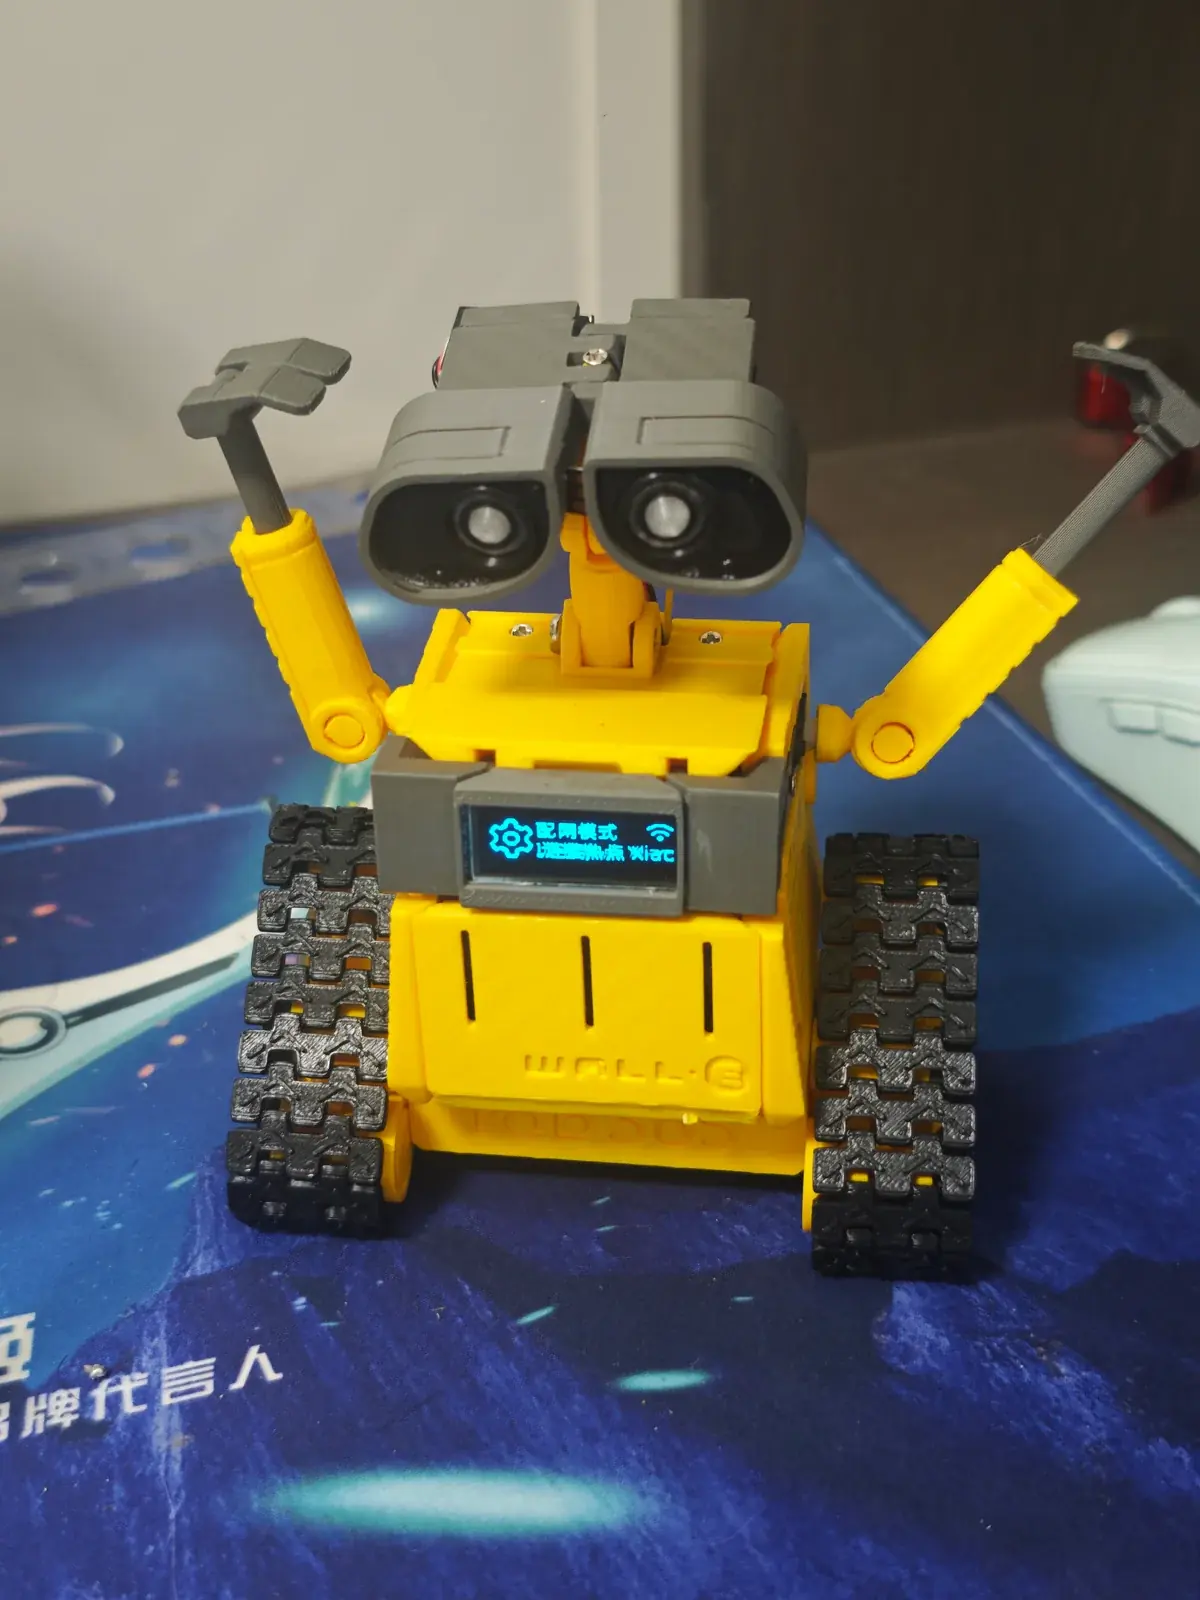
Assembled
The whole robot comes together
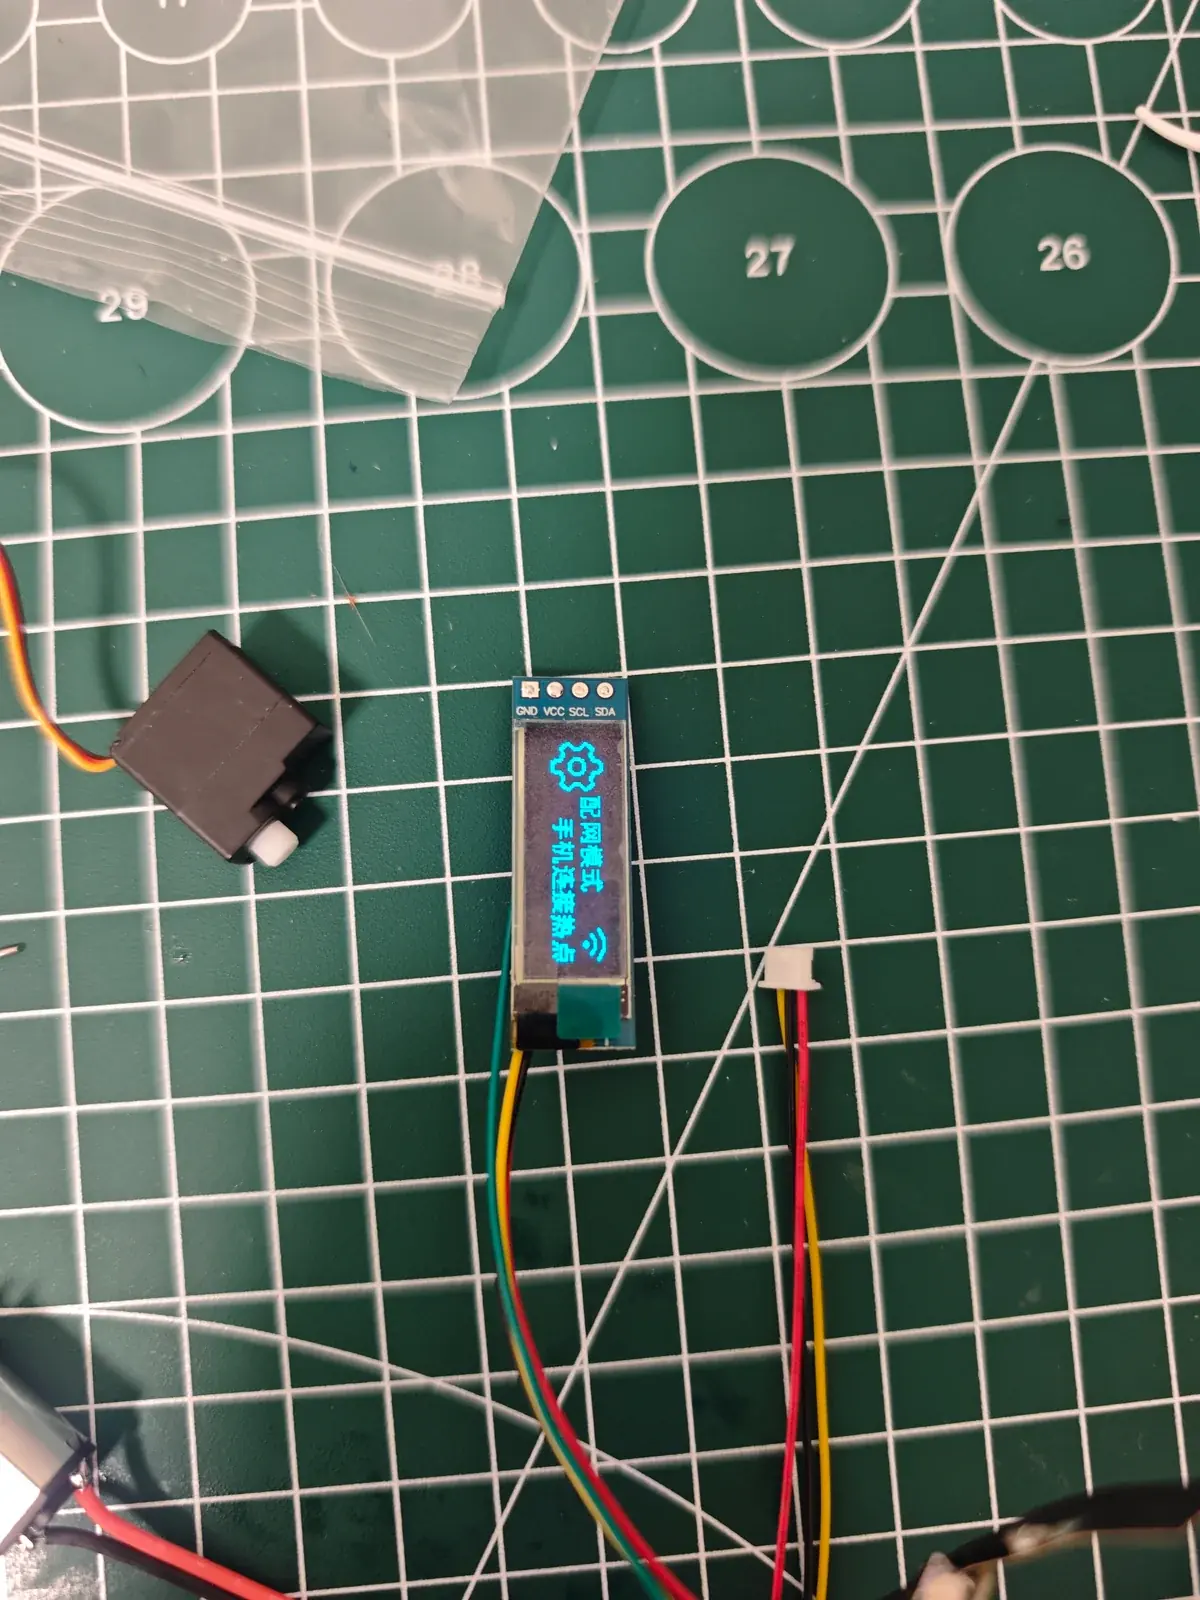
Power-on test
Screen lights up, AI ready